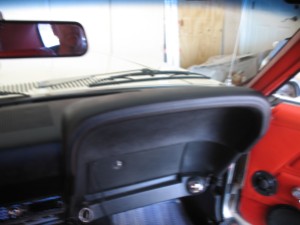
But before I want to touch on point I made in a previous entry. It was about planning and how important it can be to a project in both saving time and $$$. Unfortunately for this project I planned too late. (OK…fine…just trying to soften blow to my ego.) I remembered that I needed to order the two interior moldings for the A pillar (the post on either side of the windshield).
See pic
It now the ugliest thing on the Mustang. If I planned properly I would have ordered the molding when I ordered the dash pad, remembering that these actually lay underneath the that pad. So I did remember the other day…and figure..I’d order them and rush the postage. Well that didn’t work out too well..they are now on back other for 10 days or so. Since I couldn’t keep my average garage tied up that long I when head and put the pad back on.
eeerrrrrkkk…..a couple words about replacement parts. If you remember I said if you can get the part that are reproduced using the original tooling do so and that is good advice (or else I would have typed it 🙂 ) Quick story, I purchase some interior door handles re-enforcement for my C4 and found them to be ill-fitting unless I re-drilled the screw holes…which I did and they worked fine. …end of eeerrrrrk. But even the original tooling isn’t perfect. This dash pad was no different..you’ll see in a second.
I had originally planned to replace the front speaker (under the dash pad) but the speakers I had wouldn’t fit the frame work. The old speaker was so dried out that when I touched the cone it fell part.
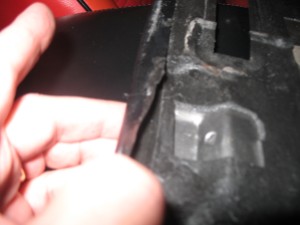
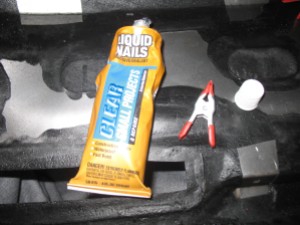
First thing I notices was that the covering on the back of the new pad was coming up in places. I’m guessing the adhesive was missed in that spot. I was concerned that it would start peeling so I decided to glue it down. It would take over night to dry so I lost an evening there. Here are some pics.
I placed the new dash pad in place and checked to see how well the holes lined up. If you recall there were two brackets (hidden behind trim) on the font of the pad. On the new pad they had to be “adjusted” to line up the existing screw holes.
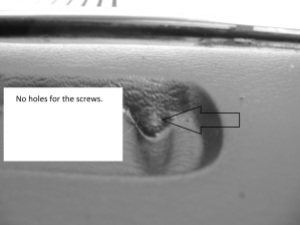
Next two issues were annoying but easily remedies. The was extra material block the holes on the on the bracket on the front and there were no holes punched in the upper screw holes.
I trimmed the excess the covering over the brackets and for the missing screw holes I came in from the back side and punched them through.
The final assembly was easy enough.
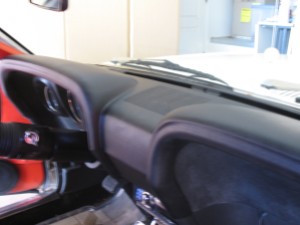
Here is the final few picks.
And
and the before:
Ok..it wasn’t rocket surgery or brain science but a necessary job, when restoring a car.
Thanks for ready..your comments and feedback are always desired.
Tim

