1958 Ford Ranch Wagon – I’m in the Dog House: Front Clip Removal


FROM –  http://ranchwagon.wordpress.com/2012/07/29/im-in-the-dog-house-front-clip-removal/

Posted: July 29, 2012 in Uncategorized

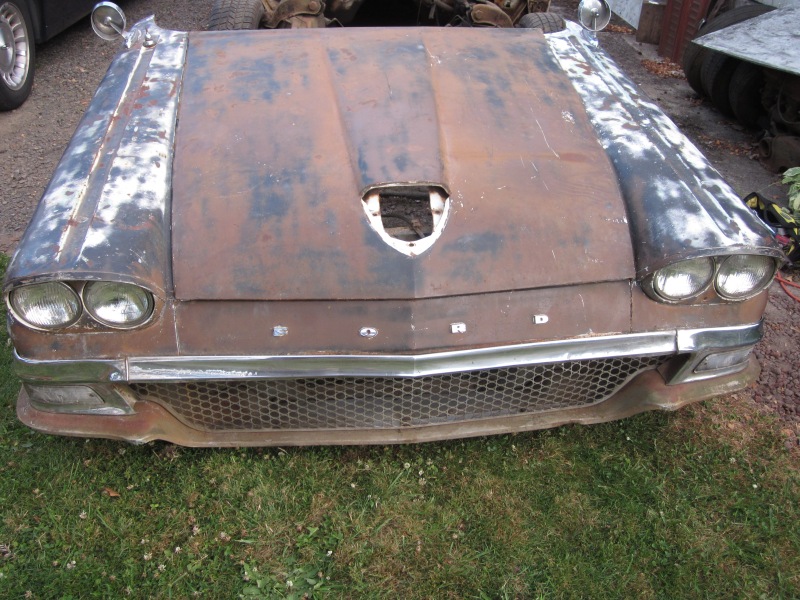
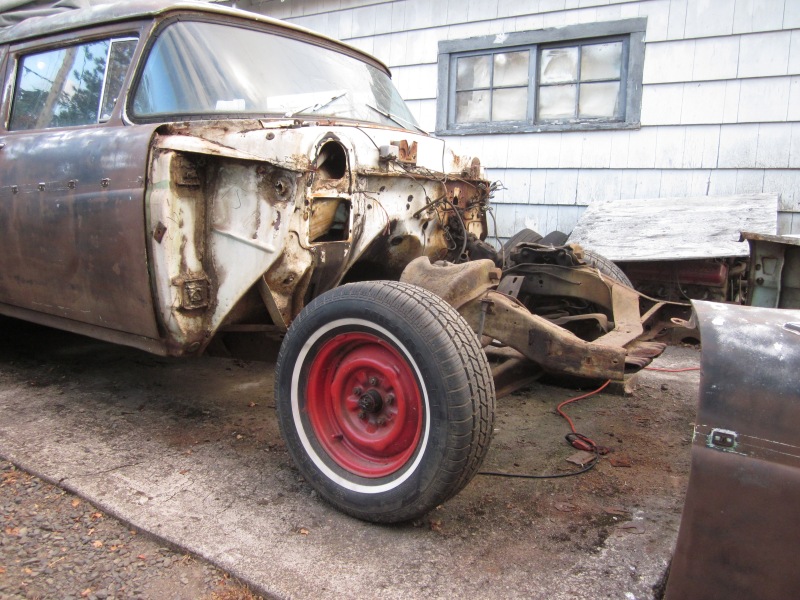
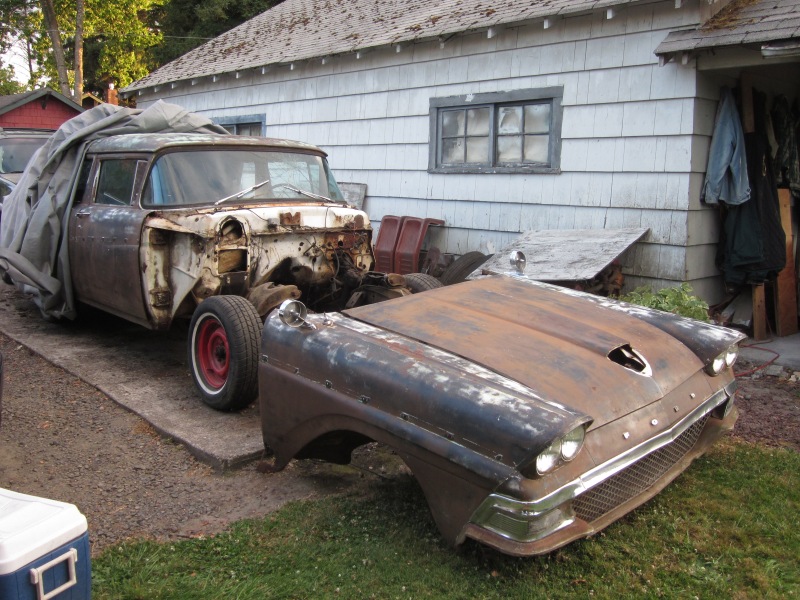
I decided the time had come to get the front clip taken off the Wagon. I wanted to get the front frame cleaned up, and do the front end by the end of summer. I am shocked at how few bolts actually hold the whole front clip onto the ’58.  11 bolts, disconnect some wiring, and you can lift the whole front Clip (Dog house) off in one piece.  It’s taken me longer to change the oil on a car than to remove the front clip on this car!

Image

First  I had to remove the front bumper with brackets attached. That was fine, except for the one chrome bumper bolt on each end of the bumper. They fought back pretty good. I had to sawzall them off.

Image

I was without any help to lift the front clip off, so I had to tilt the front forward onto some large Foam cushions I had saved out of an old travel trailer I had gotten rid of years ago. They are a perfect for laying under vehicles to work on, and for cushioning large loads like this.

Image

Next I will be removing the wiring from the front clip and saving it for future use. This front clip needs work. The front fender bottoms are rusty, and the hood is so badly rusted it is of no use. So either I will sell this old clip to someone who has nothing, or dismantle it, save parts and scrap it.
 

Auto Factoids for Week of Aug 12, 2012

Back by popular demand (Ok, not really, I just like doing them.)

But I’m going to add a  give-away on the end of each one.

On Aug 14 in 1877, Nicholas Otto gets a patented for his 4 cycle combustion engine.

From the ZweiRad Museum Otto’s 4 cycle engine.

On the same day Paris, France creates the first every license plate in 1893.  Or was it?  Sources agree that it in fact Paris, France but the date isn’t clear as some sources say it was Leon Serpollet of Paris, France, who obtained the first license plate in 1889.

License plates were first required in the United States by New York State in 1901.

There ya go.

A sad note on the very next day (Aug 15) in 1956 an early car manufacture ceased production.  Packard closed its doors.

It was a Packard Caribbean

In 1984 on Aug 16, John DeLorean was acquitted of cocaine charges stemming from an alleged deal to help raise funds for the car company. He worked at Chrysler, Packard, GM (responsible for the GTO) and then his company producing the now famous Delorean DMC-12.


Back to the Future.The company still exist – original parts were purchased and now lives in Humble, Tx. Find them here on Facebook https://www.facebook.com/deloreanmotorcompany

Finally, in 1905 on Aug 18, Cadillac got it’s crest trademarked.

Caddy Crest Chart from http://www.cartype.com/pages/1051/cadillac

GIVE-AWAY:

Add a relevant comment to this Auto Factoid and you be entered in the monthly Auto Factoid Give Away.

This month:

1/32 scale 1969 Dodge Coronet Super Bee (new in the box)

1/32 Scale 69 Super Bee.

Thanks for reading.

Tim

Mustang II Diaries 3

http://mustangiidiaries.blogspot.com/

Trunk Before & After

My first major project was the trunk area. The weatherstripping as you can see from the picture (left) was dry rotted and peeling and I didn’t like how the backs of the tailights were exposed. I found out that standard coupes didn’t come with anything but a simple gray trunk carpet and a round piece of wood covering the spare tire. I wanted a cleaner look, so I purchased a plastic panel that came out of a 1978 Ghia to cover the taillight assemblies.
There was some rust around the trunk lid, so after removing the old weatherstrip (a nightmare!) I used rust treatment on the visible rust, and painted around the trunk lid and in the weatherstrip channel with white Rustoleum.
The next job was to install new weatherstripping, which I got from SSC Enterprises, but it did not go as planned. The weatherstrip dried all twisted in the corners and sticking out of the channel. I was so disappointed because I’d spent forever prepping and painting areas of the trunk and channel only to have the weatherstrip installation botched. I had to pull up the ruined weatherstrip, which thankfully did not cost a lot, but still, and scrape the adhesive off (again!) & repaint. Grr. Fortunately, around that time, I’d picked up a dremel tool with a wire brush and that made it a little easier than the first time.
After this setback I decided not to make a second attempt. Plus the next job would have been to replace the roof rail weatherstrip, which was supposed to be even trickier. So after ordering another package of trunk weatherstripping, I took the car to a body shop nearby and they did the trunk and roof rail for $95.
The last step was to find a jack assembly. The car’s original assembly was missing, so I bought a used one from another II owner and the jack assembly is now complete and correct. Plus I bought a new reproduction jack instructions decal and affixed it in the right spot next to the spare tire.
Here are the after shots:

Posted by Denice at 1:19 PM
Thanks for reading.
Tim

Ford Mustang Complete Brake Upgrade Installation

I’m seem to be on a Mustang kick lately.   Here is great video on upgrading the brakes on your late (relatively) Mustang.

Good luck.   Chase down the notes on MotorZ  site.    http://www.motorz.tv/

Thanks for reading.

Tim

Mustang Mechanic – TFI Swap 87-93 Mustang

These guys work on some newer ‘Stangs. But there are some good hints and tips for working on your Mustang.

http://mustang-mechanic.com

They have given permission for me to share the videos on Average Guy’s Car Restoration, Mods and Racing.

Thanks for reading.

Tim

1958 Ford Ranch Wagon Booster & SwiftSure Brake Pedal Assembly Reunited

http://ranchwagon.wordpress.com/2012/02/01/booster-swiftsure-brake-pedal-assembly-reunited

Posted: February 1, 2012 in Uncategorized
Tags: , ,

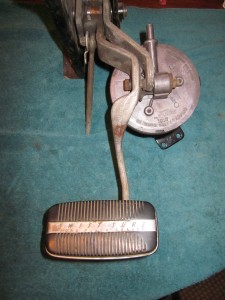
I cleaned and painted the rear booster bracket. After rebuilding the booster, I have decided to bolt the booster to the Brake pedal assembly. It fit just as it should, and can now box, and store this assembly. One more part of the restoration done! 7,329 more to go!

Reunited, and it feels so good….

The Bridgestone Project 1: The Dual Twin

Are you ready for this????    New project.  Code name: The Bridgestone Project.

1965 Bridgestone Dual Twin.

Take a look:

Let’s get ready for some specs!!

The Bridgestone Project..your mission should you decide to accept to restore this mess!!

The Bridgestone Project..your mission should you decide to accept to restore this mess!!


Thanks for reading.

Tim

bridgestone motorcyclebridgestone motorcycle

1958 Ford Ranch Wagon- Control valve rebuilt


http://ranchwagon.wordpress.com/2012/05/13/control-valve-rebuilt/

Posted: May 13, 2012 in Uncategorized

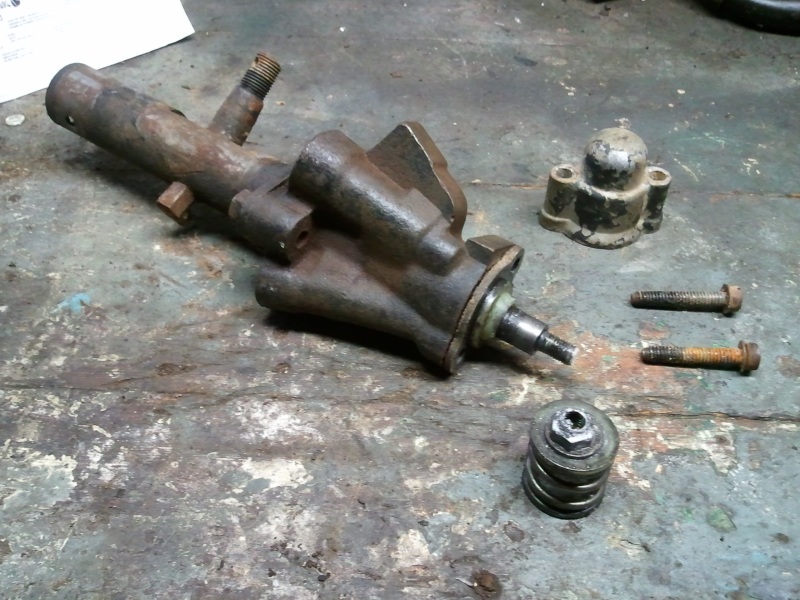
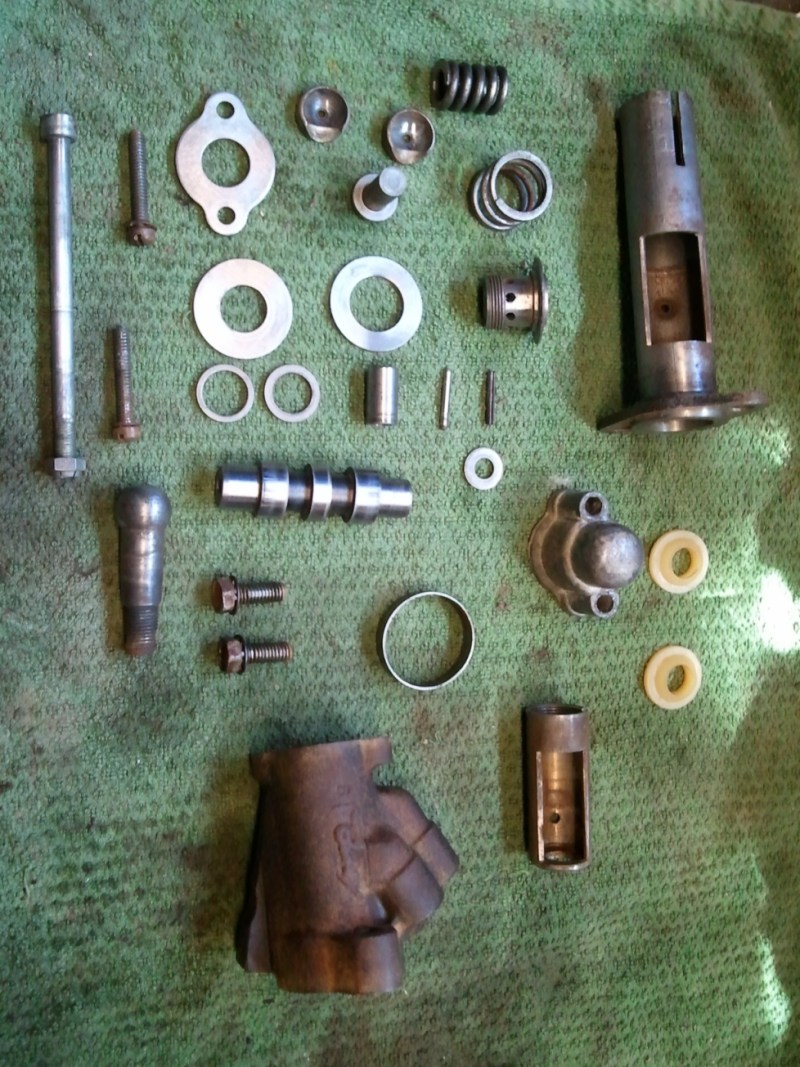
So I spent Friday night dismantling the control valve, in order to soak it all overnight for a Saturday morning rebuild. It all came apart relatively easy. After having it all soak all night in some super clean, I cleaned it all up an then soaked all the internals and housing in some power steering fluid. I rebuilt the valve with a rebuild kit and a new ball stud kit as well. Then I coated the spool valve spring and nut with some white lithium grease and installed the end cap.

I then painted it in some chassis black semi-gloss and installed the stud boot and retainer. All done!


Thanks for reading.

Tim


Mustang II Diaries 2

Engine Work–Part I

When I first got the car, it had to warm up forever or it would stall. At stop lights, I had to be careful to feather the gas pedal to keep it from quitting on me. I enjoy an occasional adrenaline rush, but not at every intersection!
Anyway, our first order of business was to get the car running better. This would end up taking a while as we troubleshooted/fixed/replaced/fiddled with different parts of the engine over several months.
First, we ordered a rebuilt carburetor and my dad and I installed it. With the new carb, the car ran strong on straightaways with no hesitation but ran rough at slow speeds. After that, we did a tune up, replacing the spark plugs and wires, distributor cap and rotor.
Next, I drove the car to my brother’s place and he adjusted the fuel/air mixture, fiddled with the vacuum advance tubing, and reconnected the kickdown rod. The hesitation was 99 percent gone after all that. When I drove home I got stuck in bumper-to-bumper traffic and the car never stalled or overheated. Yay!
The last piece of the puzzle was the fuel pump, which was going bad. As soon as we replaced that (only $30), the car ran better than ever. Now I can drive it without worrying about being stranded (although I do have roadside assistance through my insurance so I can get a tow home if that happens).
Update: Even though the car is more reliable and runs smoothly now, the engine leaks oil, and could use a reseal. I’m hoping to get this done in September/October 2010 (more on this later).

Posted by Denice at 11:22 AM

Labels: